Replacing a Bottom Bracket
The bottom bracket is one of the most fundamental parts of the bike. Like many highly important things, it's also one that gets totally overlooked. That is until it starts to break.
For several months my crankset has been wobbling worse and worse. I ignored it as long as I could, but when an elderly man on a mountain bike leisurely pedaled past me on flat ground, I realized there had to be something slowing me down.
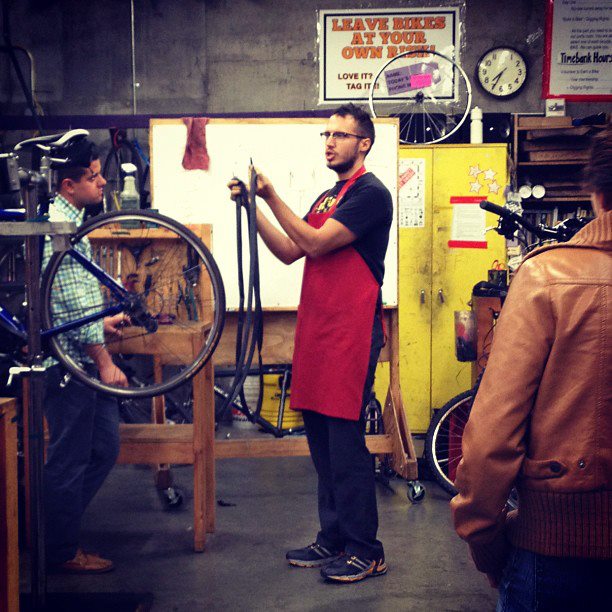
But even though I knew there was something up with the crankset, I didn't actually know what to do. Even googling was a little tricky because I really wasn't sure that the bottom bracket was actually called the bottom bracket. Fortunately, I had recently heard about this place called the Bike Kitchen. Bike Kitchen is really cool because for a membership you can use all the tools there and ask questions to really knowledgeable people hanging around the shop.

So I'm planning to overhaul the rest of my bike in the next weeks, but for now, I've got my number one priority.
Replacing a Bottom Bracket
You can fix a bottom bracket in two ways: you can overhaul it and put in new bearings manually or you can put a sealed bottom bracket in it. Sealed bottom brackets cost a little more, but they last a lot longer because it's harder for junk to get inside and start to wear them down. At Bike Kitchen, they've got a whole bin of sealed ones so I decided to put one of them in.
To get the old one out, you have to use the aptly named crank-puller which basically pushed the cranks out from the bottom bracket.

afterwards you can see just the end caps and the spindle of the bottom bracket are left.

After removing the end caps, a fairly destroyed set of bearing came tumbling out afterwards. And inside you can see that the interior looks pretty roughed up.

After I cleaned up the inside, the sealed bottom bracket definitely looked a lot healthier sliding in there.

Now the wobble and the friction are both gone! On to the next fix.
 will stedden

