Paper Chess Set
I've recently started playing chess with the students at the after-school program where I volunteer. It's fun, but we only have one chess set so only two students get to play at a time. Since our program is being run on such a shoestring budget, I decided I'd try to build a super economical chess set out just four pieces of paper and some hot glue.

I found an origami chess set online, but decided that it just didn't look like the actual chess pieces. After a little exploring, I came up with this set, which I think more closely resembles the "classic" chess look-and-feel. It's not exactly origami, but below I've described the step-by-step instructions for each piece. Enjoy.
Cutting the paper
The 16 pieces all start from square slips of paper of varying sizes that are all cut from basic 8½" x 11". To make the king and queen you use a square with sides equal to half the width of a sheet of paper. The pawns are made from 1/4 page width and all the other pieces come from 1/3 page width squares.

Pawn
We'll start with the easiest one. All the pieces start by being rolled into a cone and fixed with hot glue. For the pawns we'll use the smallest squares.
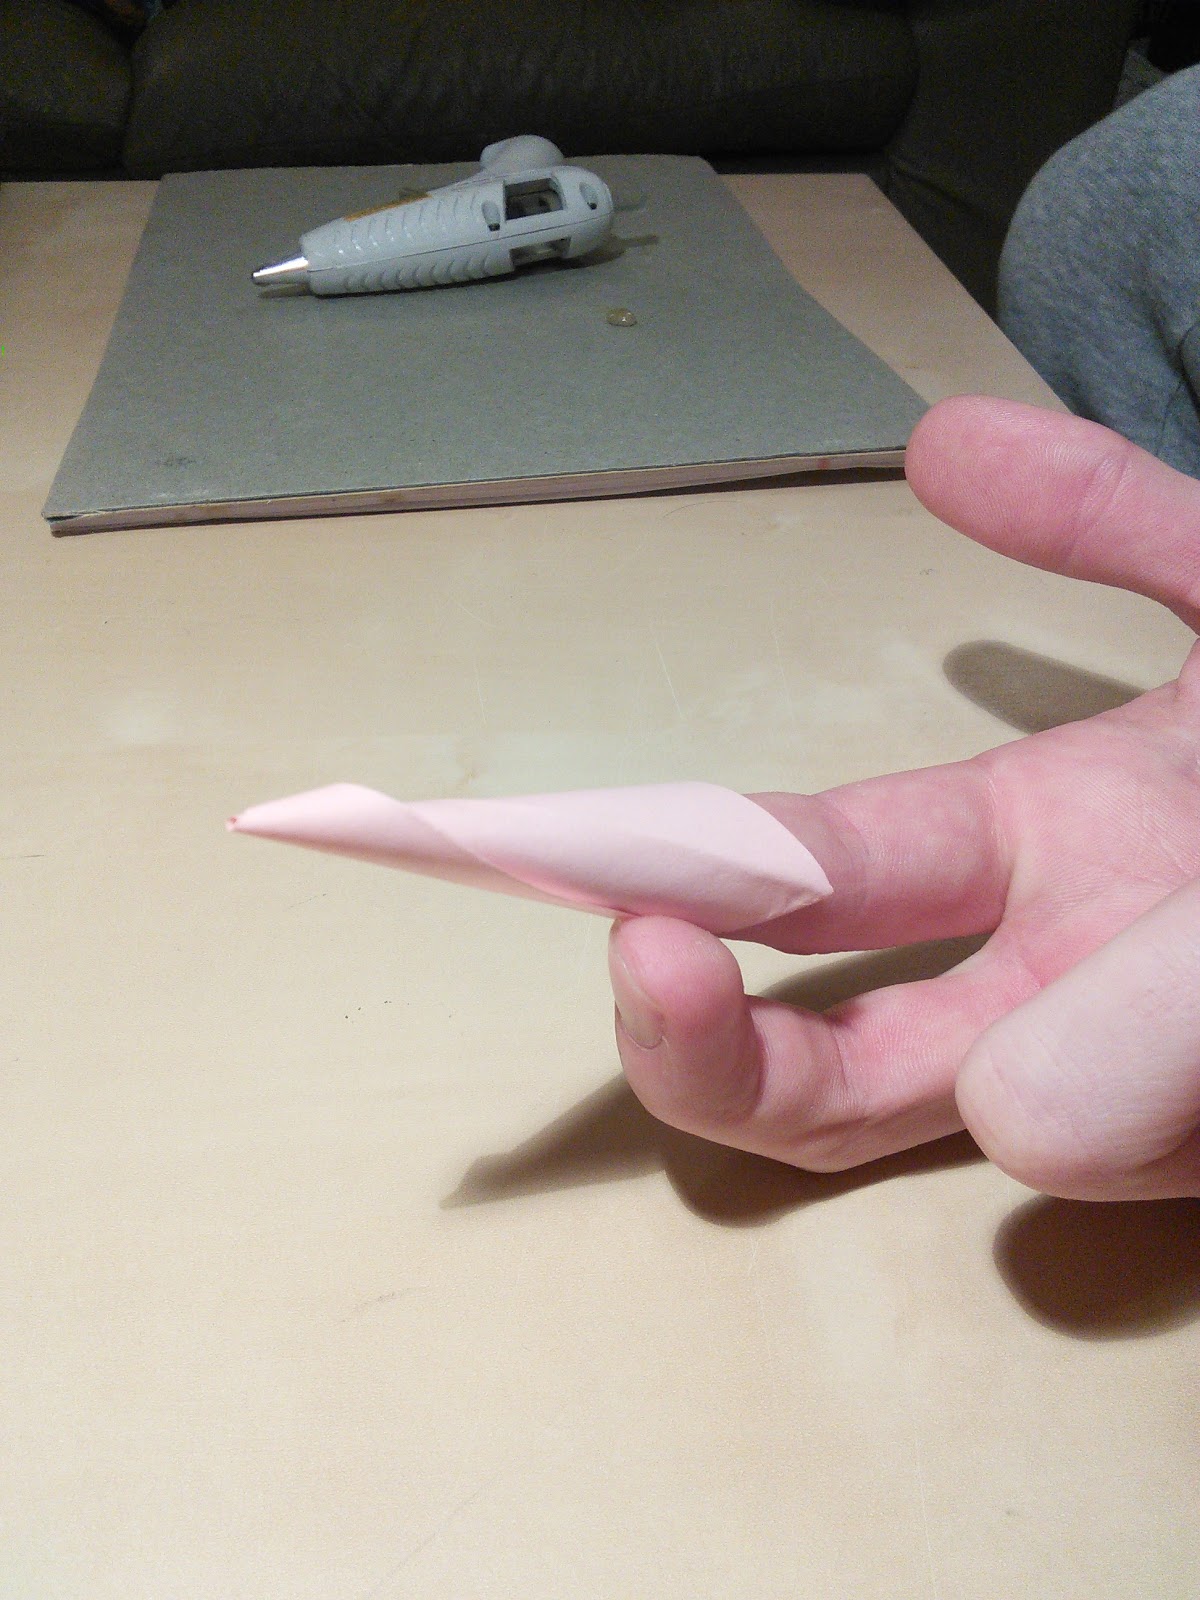
Next the open end is folded inside to make the base even. You can try different methods with this and keep going until you have the desired flatness and height.

And finally, for the pawn, I just crush the pointy tip down using a pen.
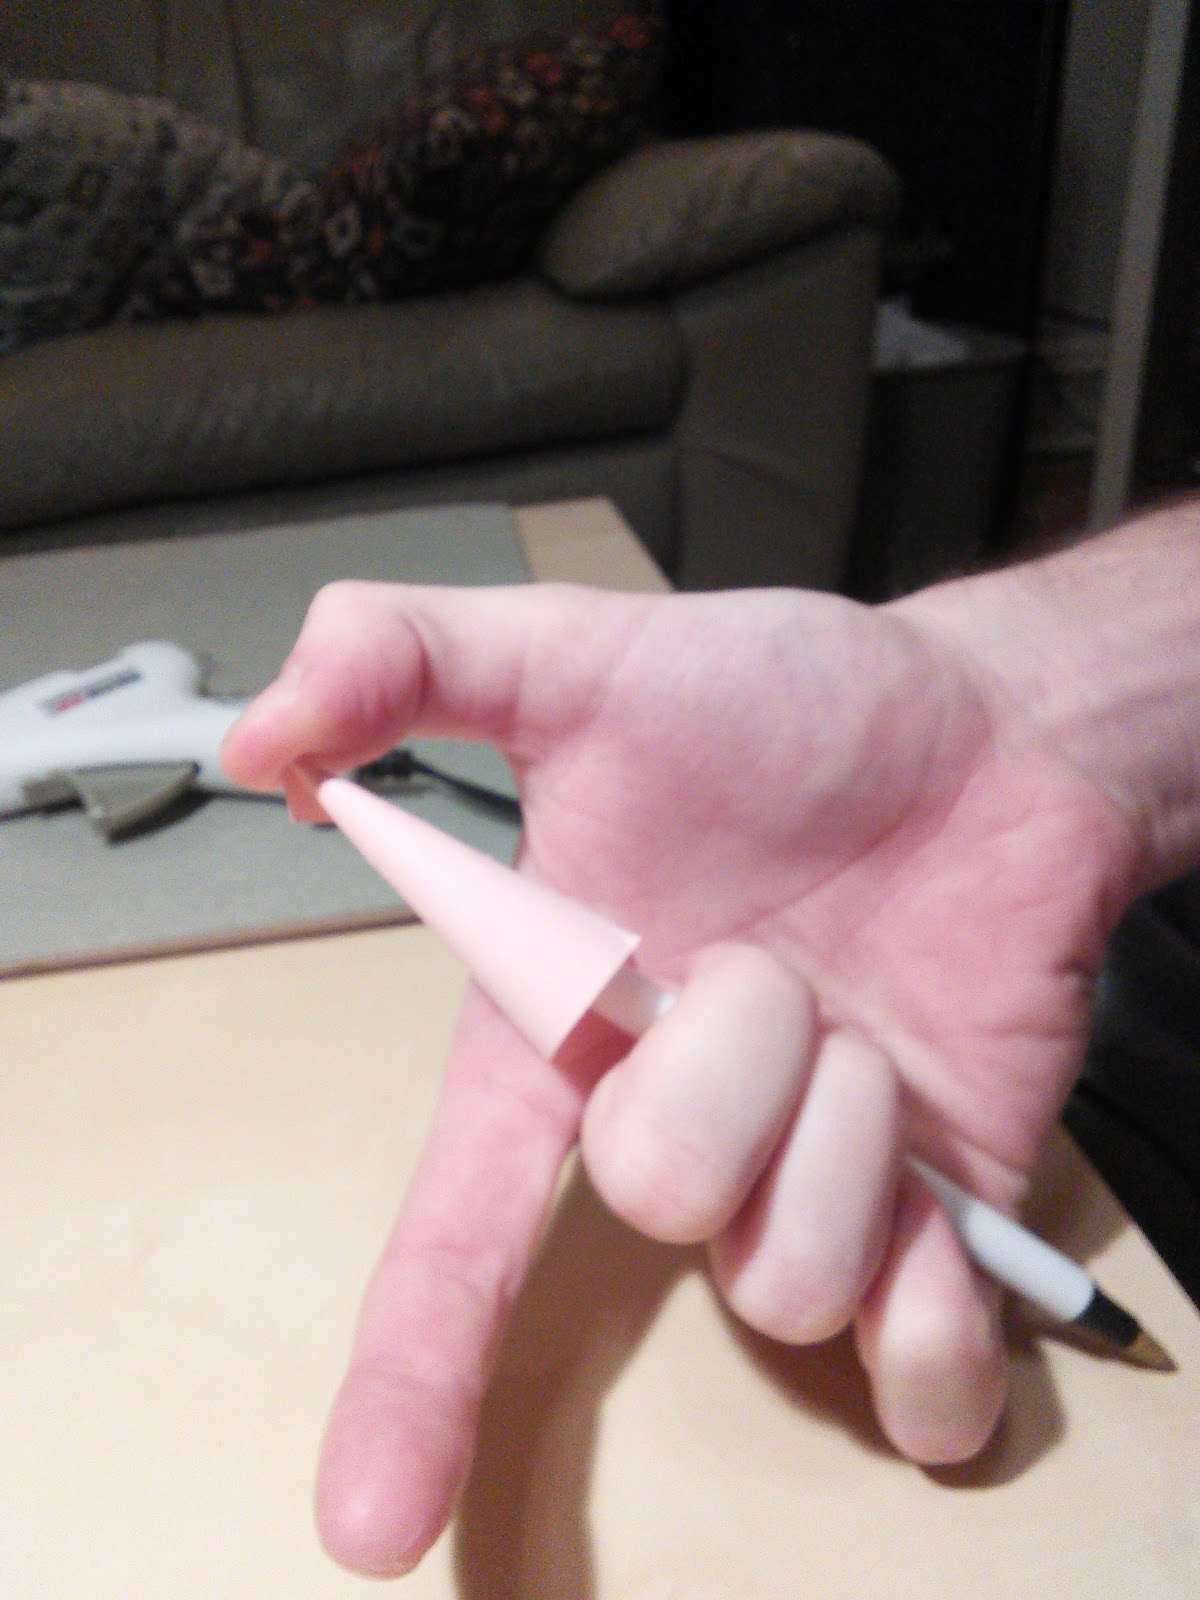
This leaves a simple rounded cone piece perfect for the boring army of pawns.

Bishop
The next simplest piece is probably the bishop. You start by making a curved cut along the corner of the paper that will become the tip of the cone.

Then you roll the lower part into a cone with a narrow diameter and then the top part into a cone with a slightly wider diameter.
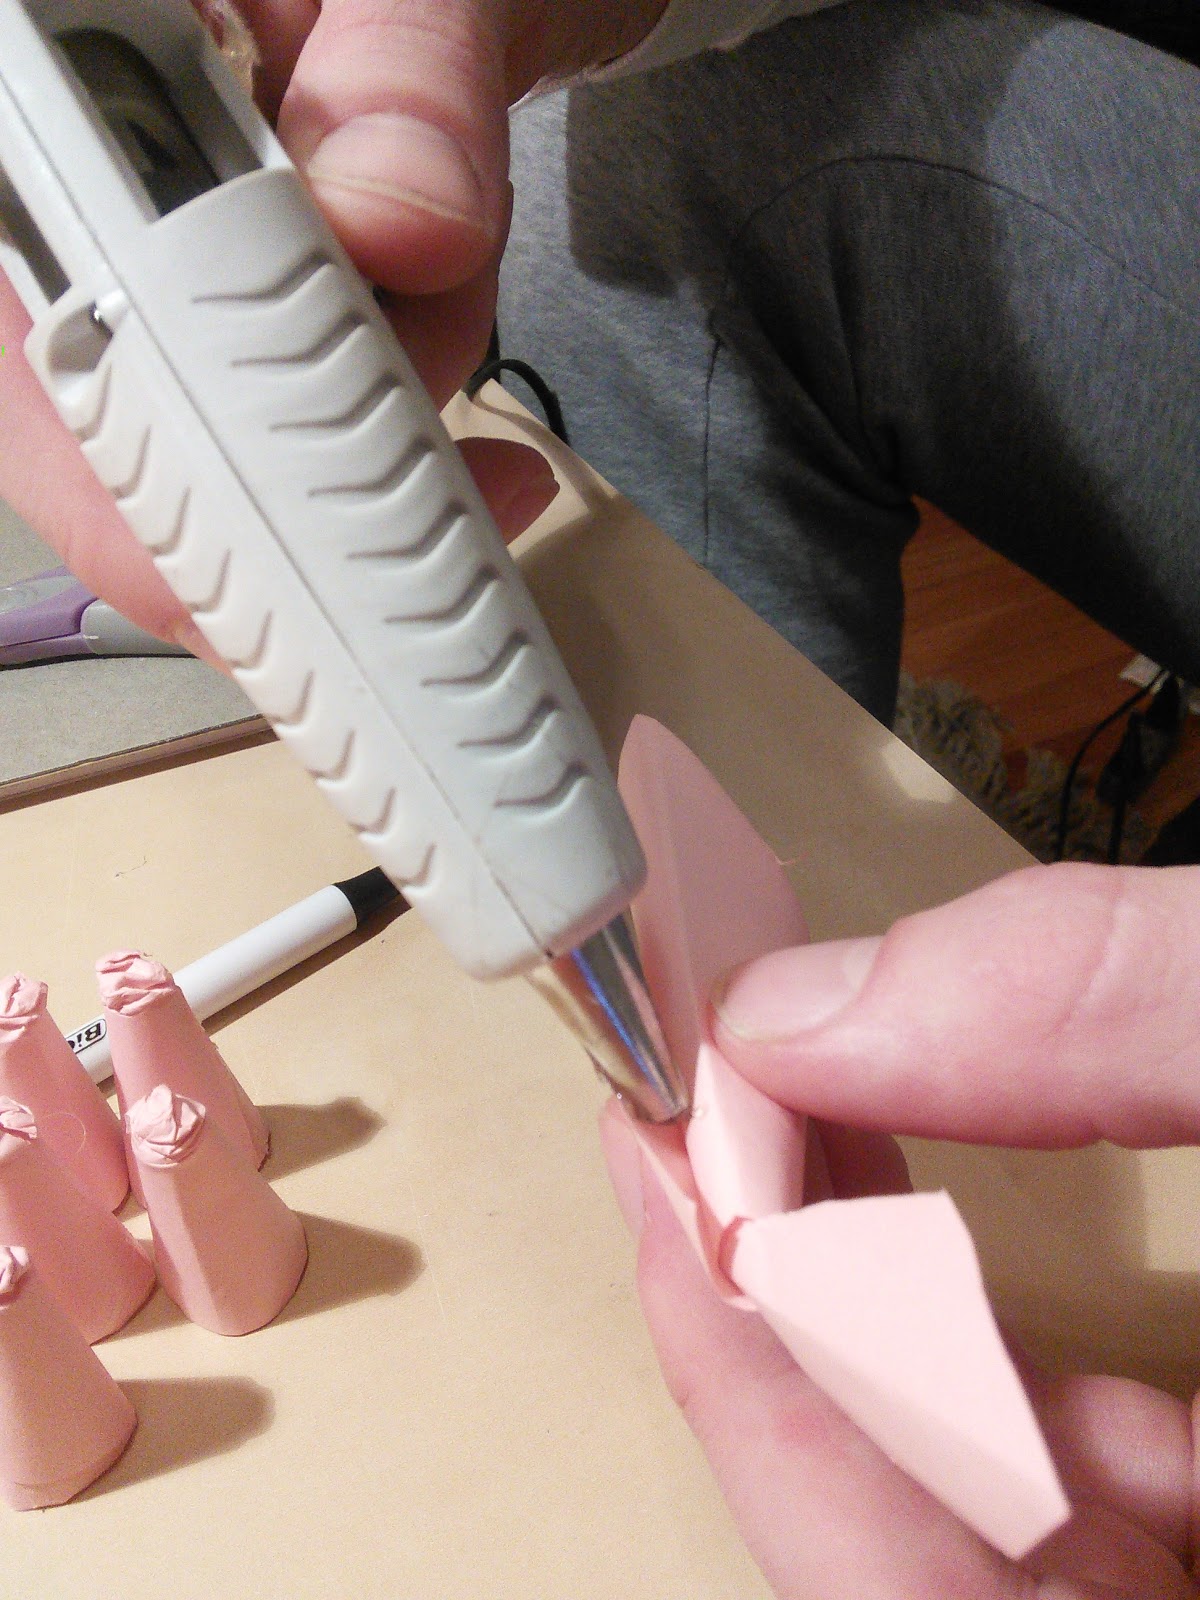
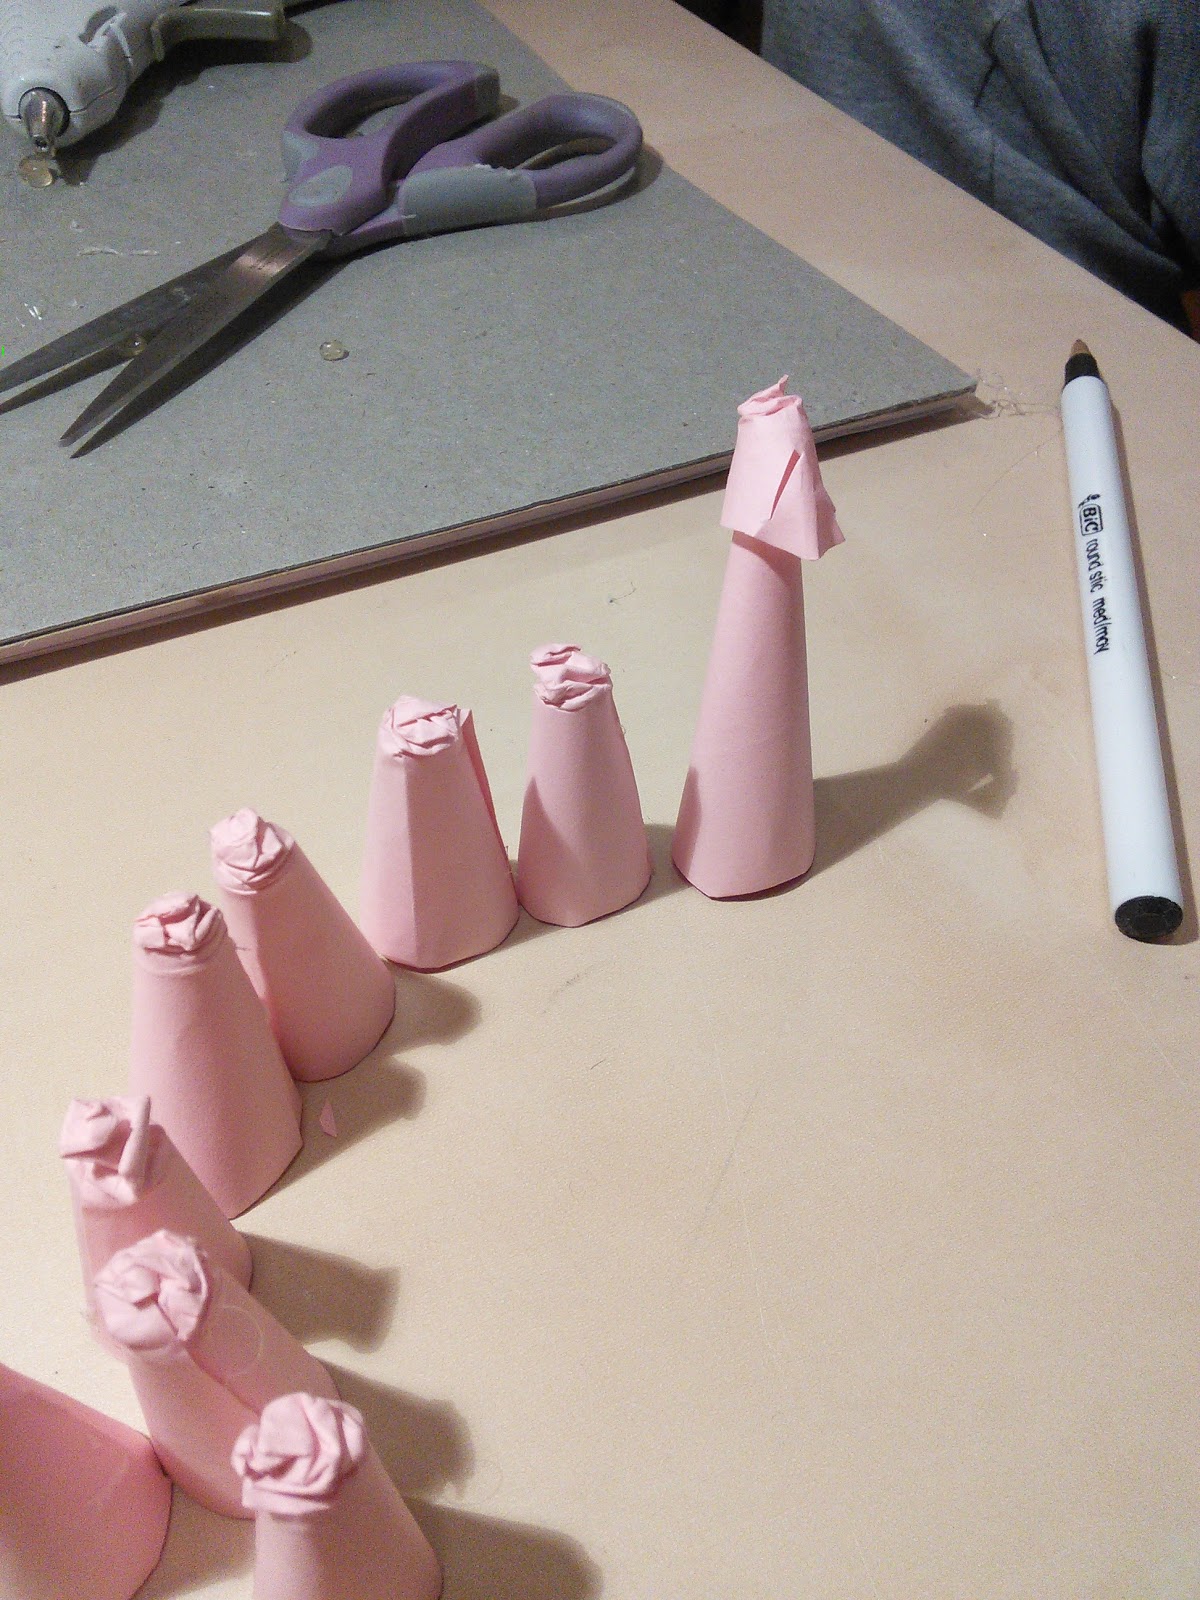
Then I crush down the upper cone with the pen like before and cut a little upward facing slit.

And now you have a little bishop to watch over the army of pawns.
Rook
The rook is a little harder and I'm still not sure how to dimension it right. I start by snipping the square into two rectangles with one a bit wider than the other.
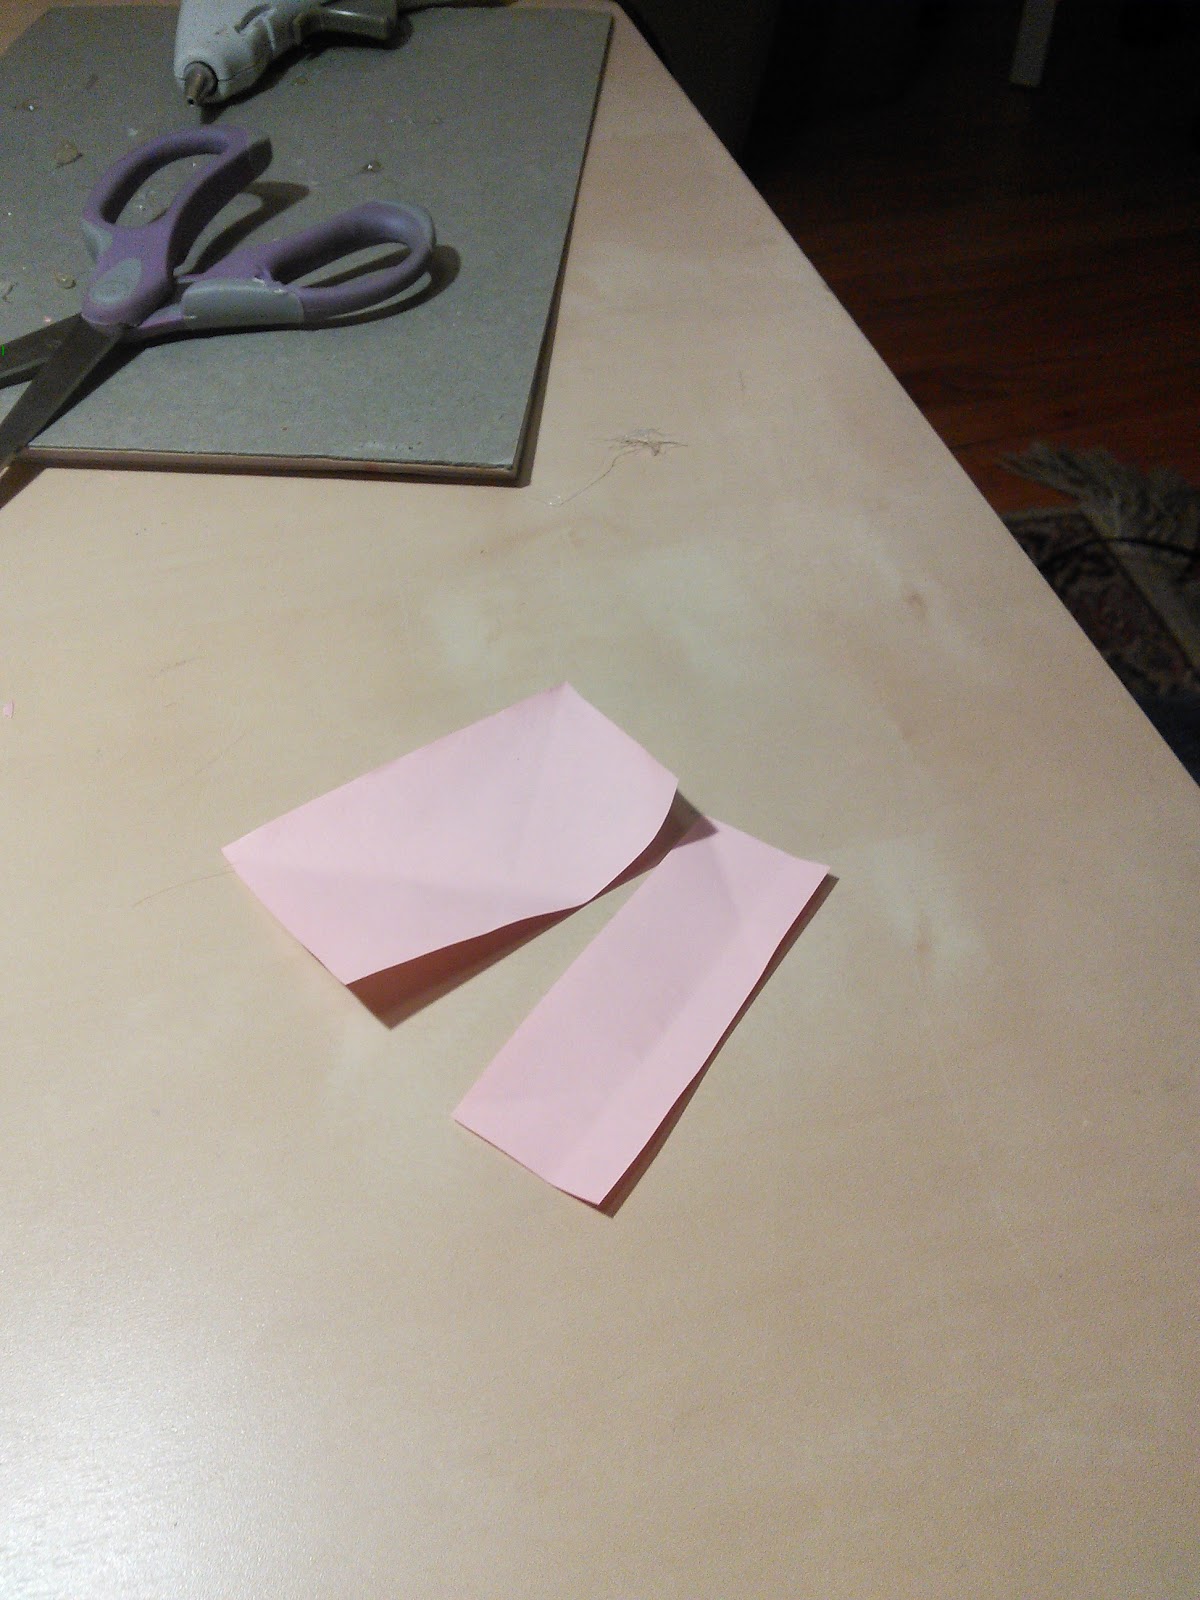
The wider one is twisted into a cone with hole in the top and glued together. The base has the long parts tucked under just like for the pawn and bishop.
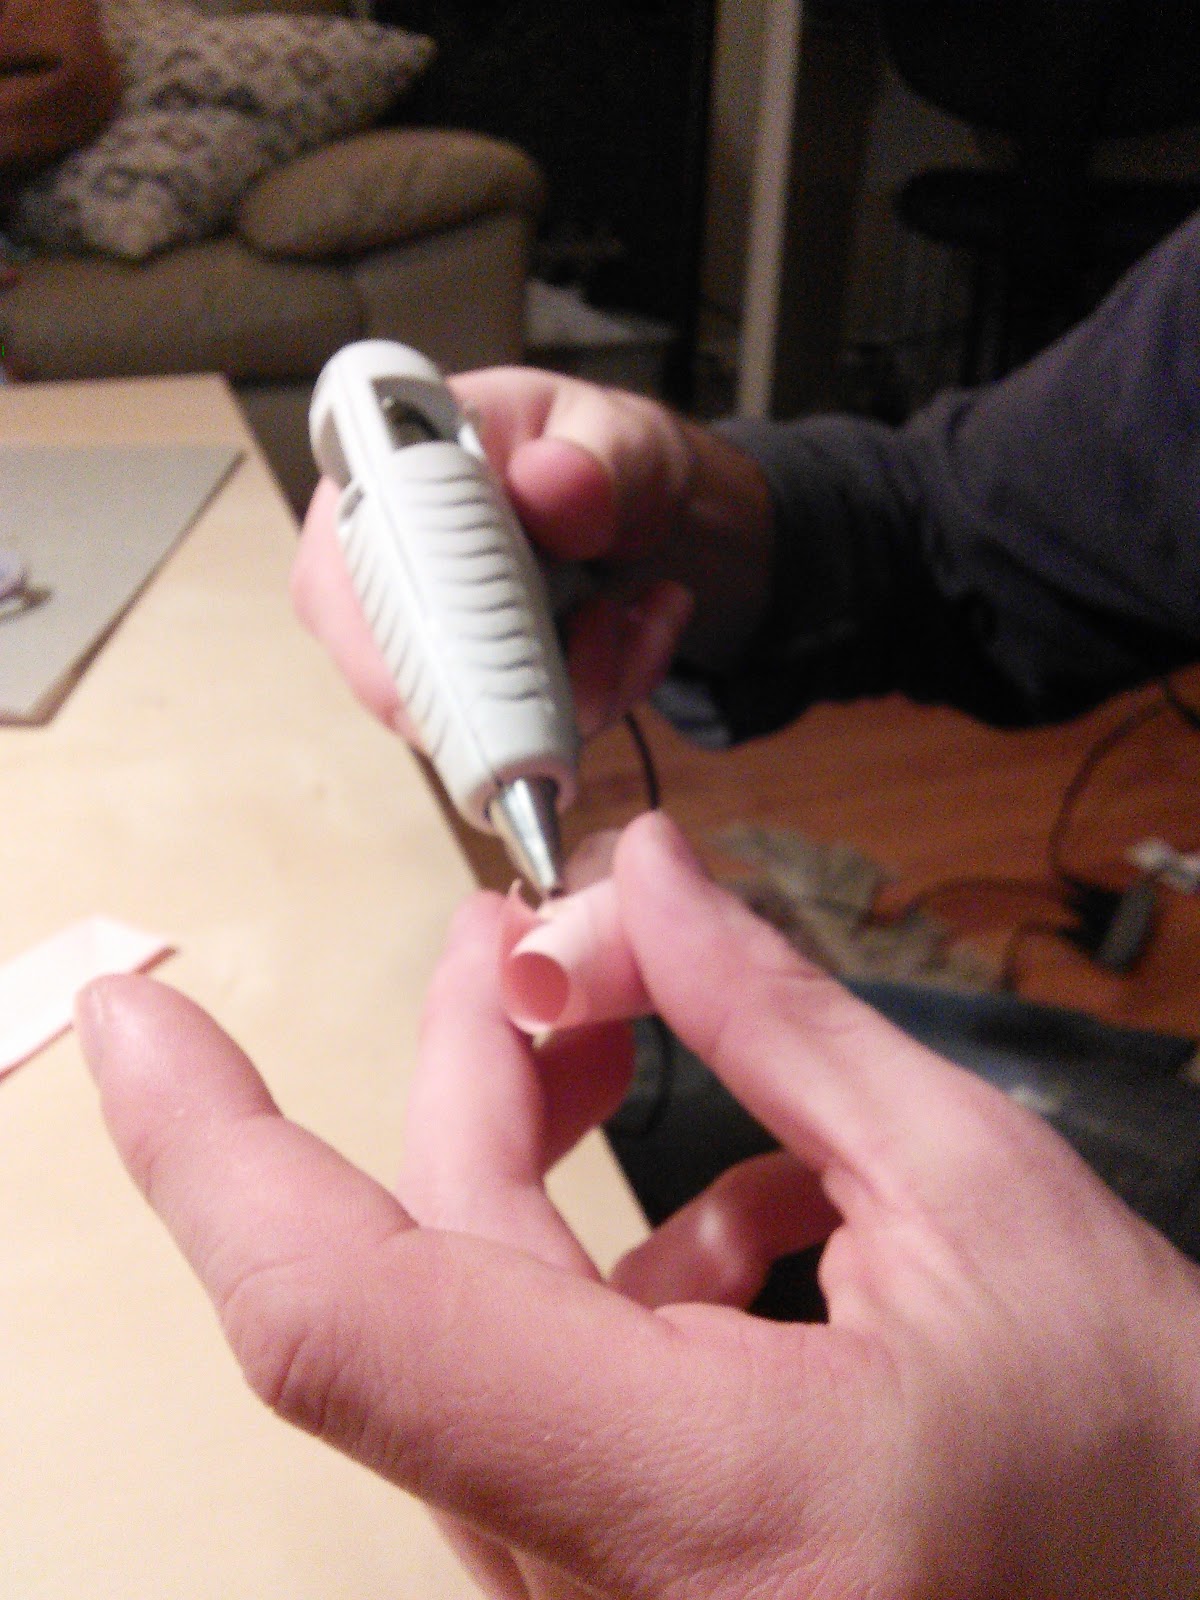
The narrower one has the edges folded over and then it gets glued into a little ring.

You glue the ring onto the cone.
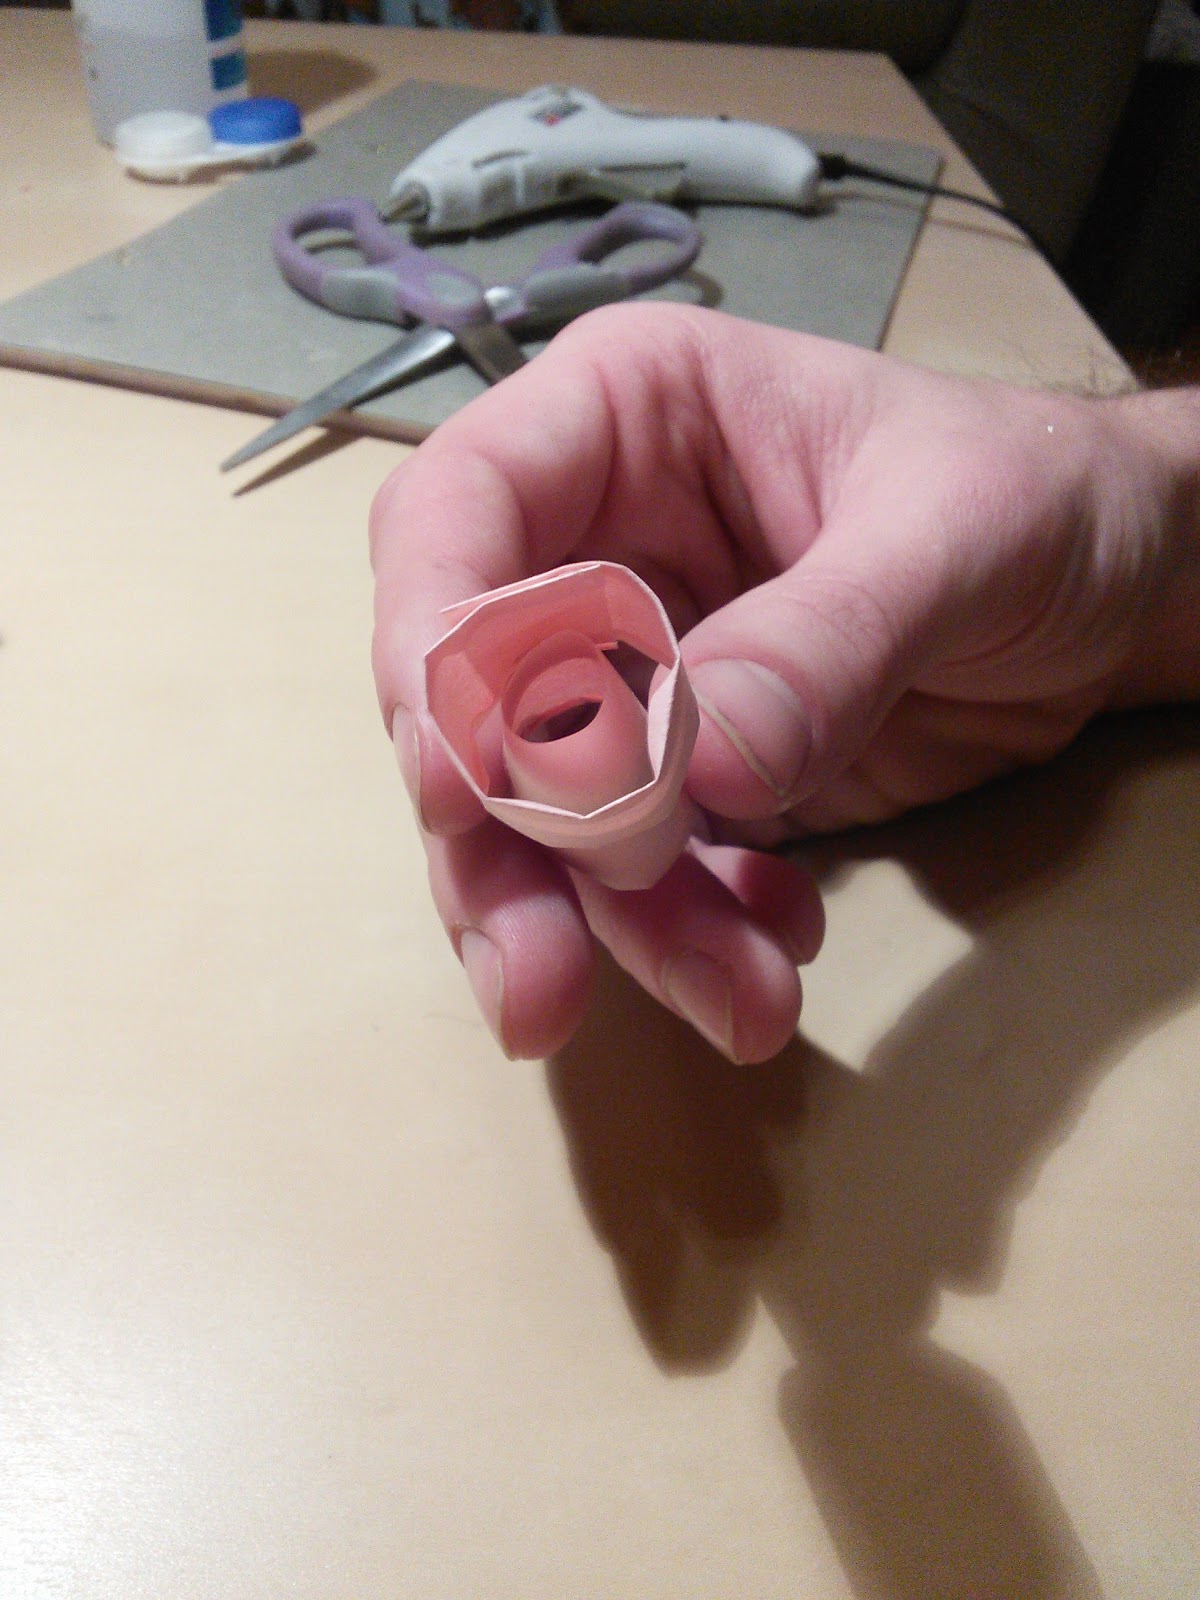
And after cutting little notches along the top side of the ring, we have a little outpost.

Knight
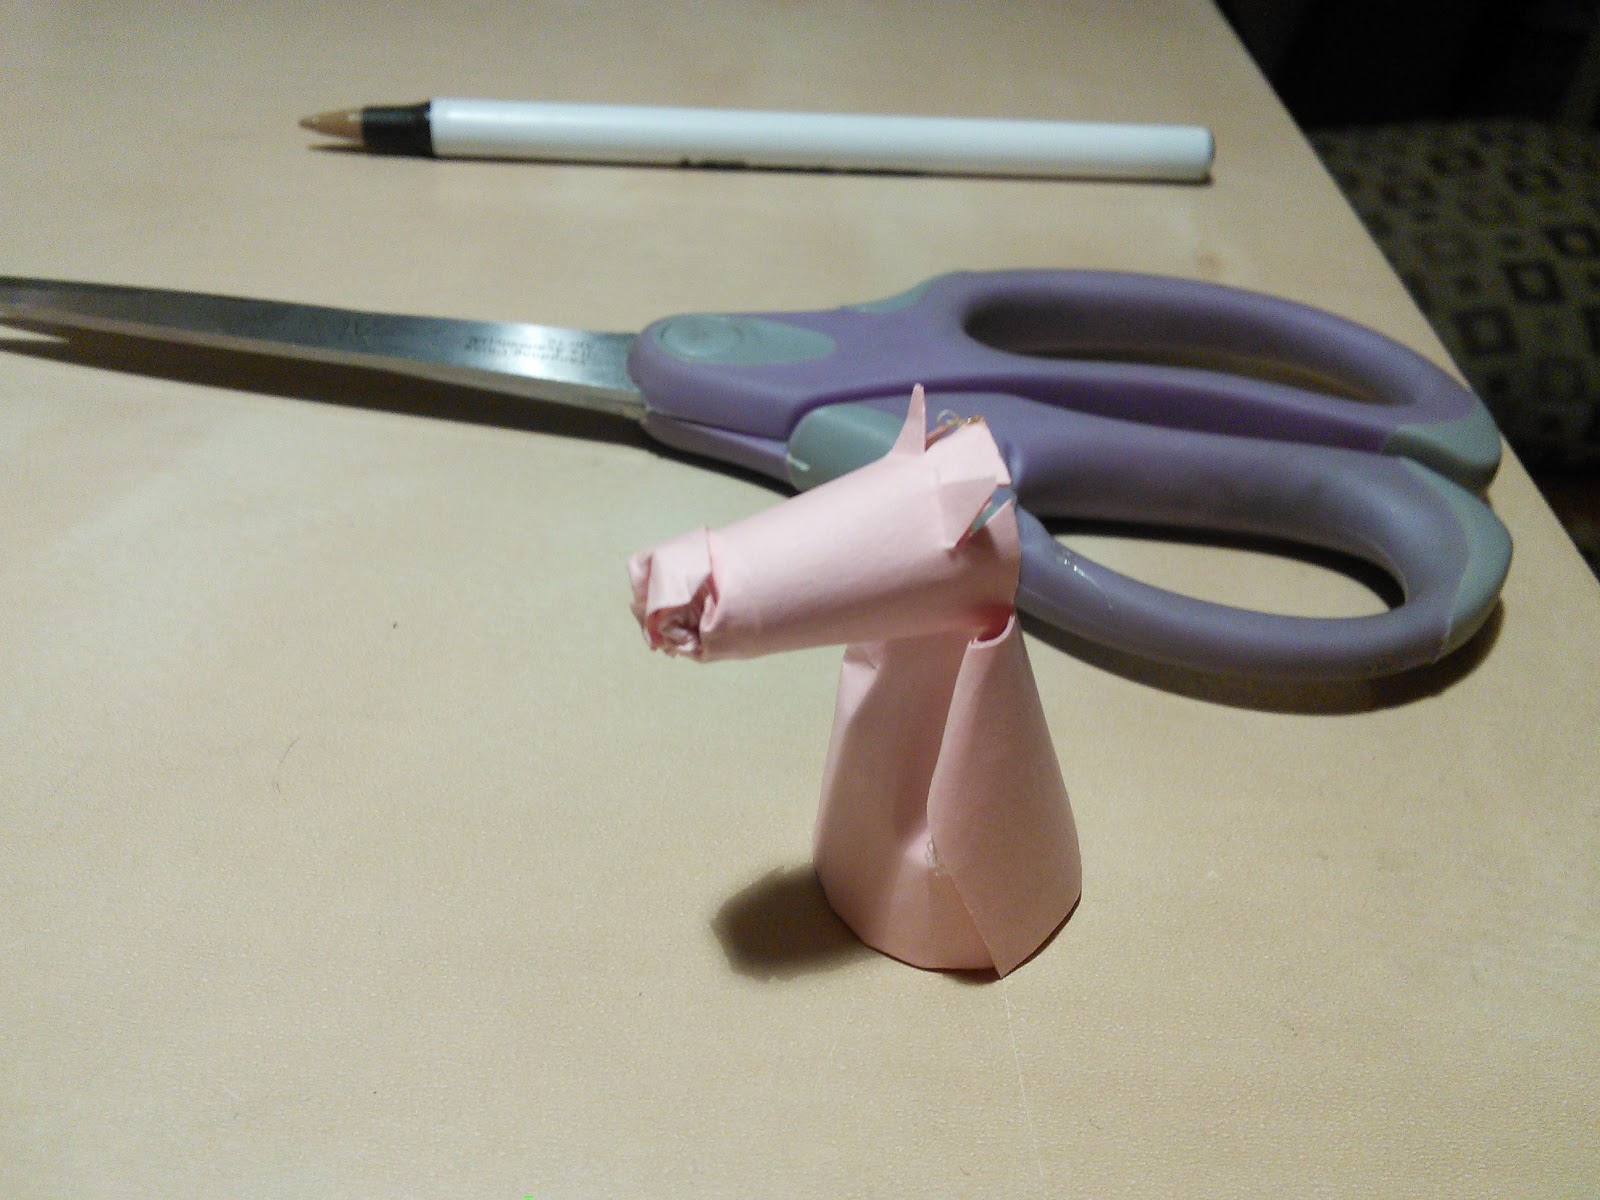
The knight was a tough one to figure, but I'm glad it turned out pretty cute. You start by making basically a larger version of the pawn, and then you cut halfway through the top part of the cone.

Next, my girlfriend came up with the idea to cut the little ears out like this.
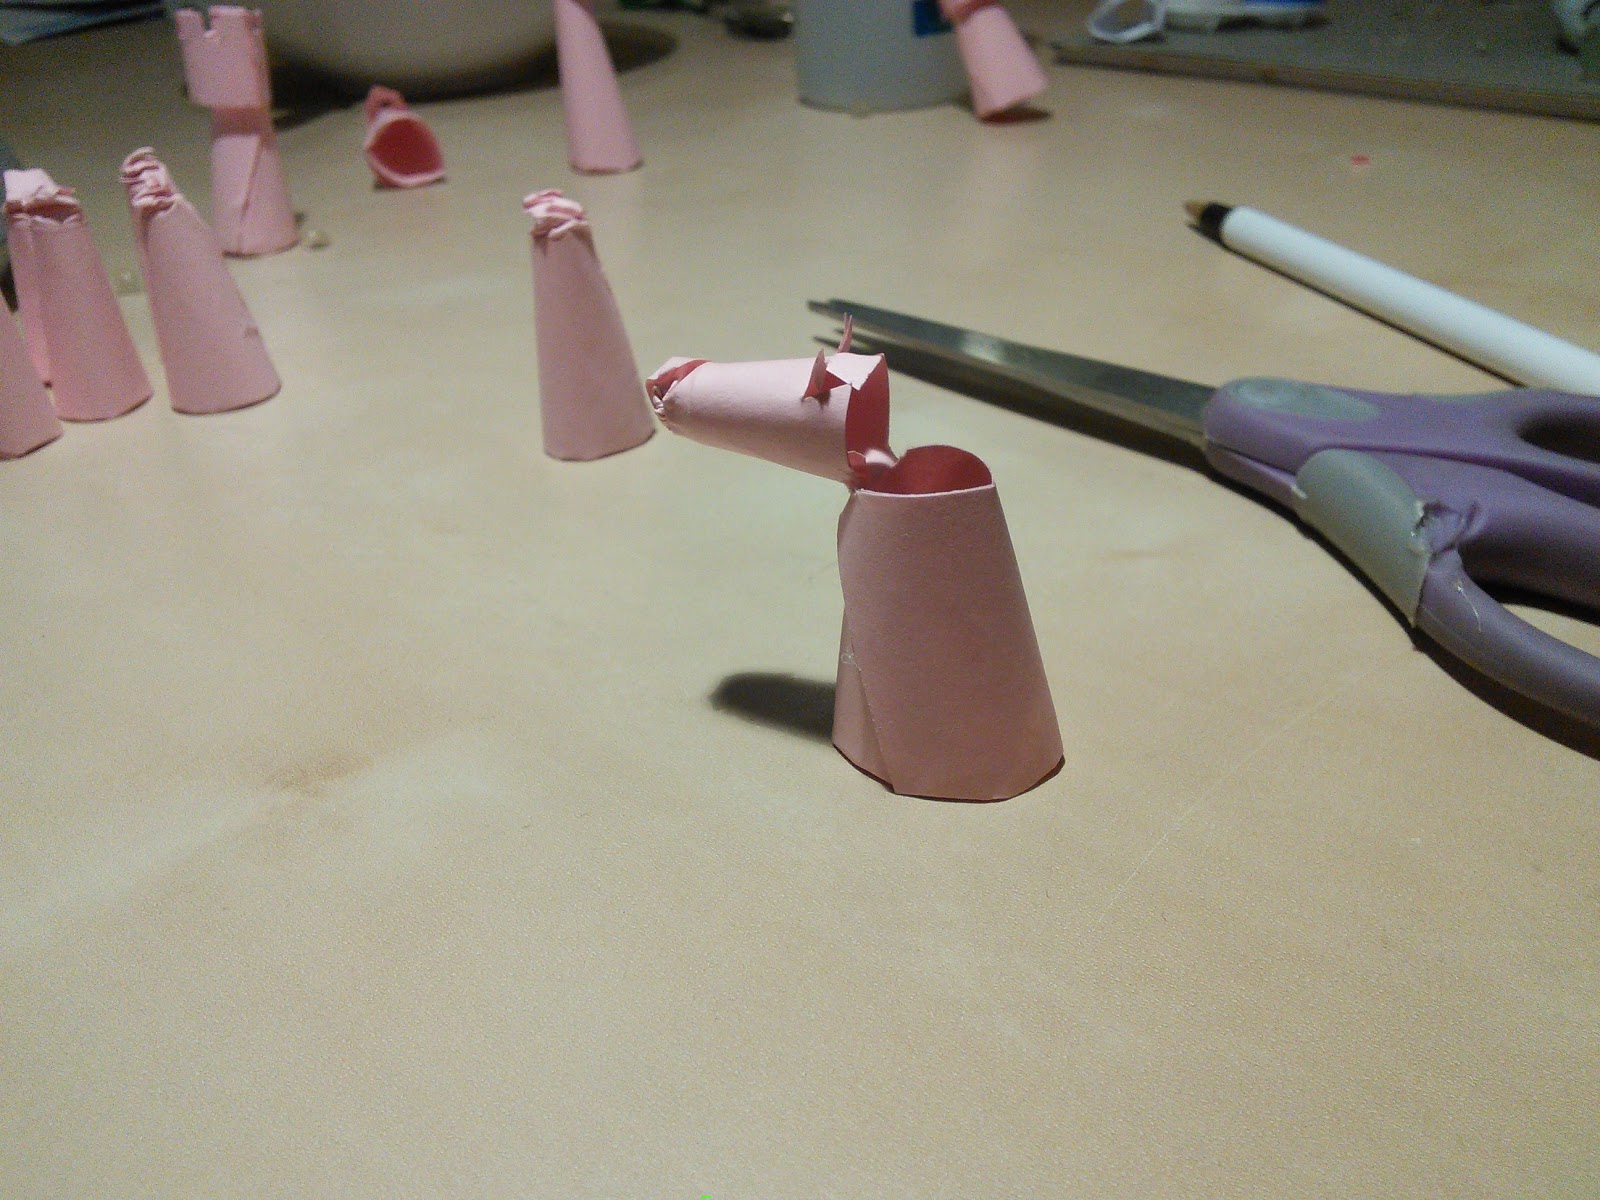
Finally you glue the hole in the base back together, and there's a cute little horsey.
Queen and King
The queen and king are very similar except for the piece you put on top. They both start with the largest squares of paper. Again they are rolled into cones, but now the long part at the bottom is cut off to be used for the top.
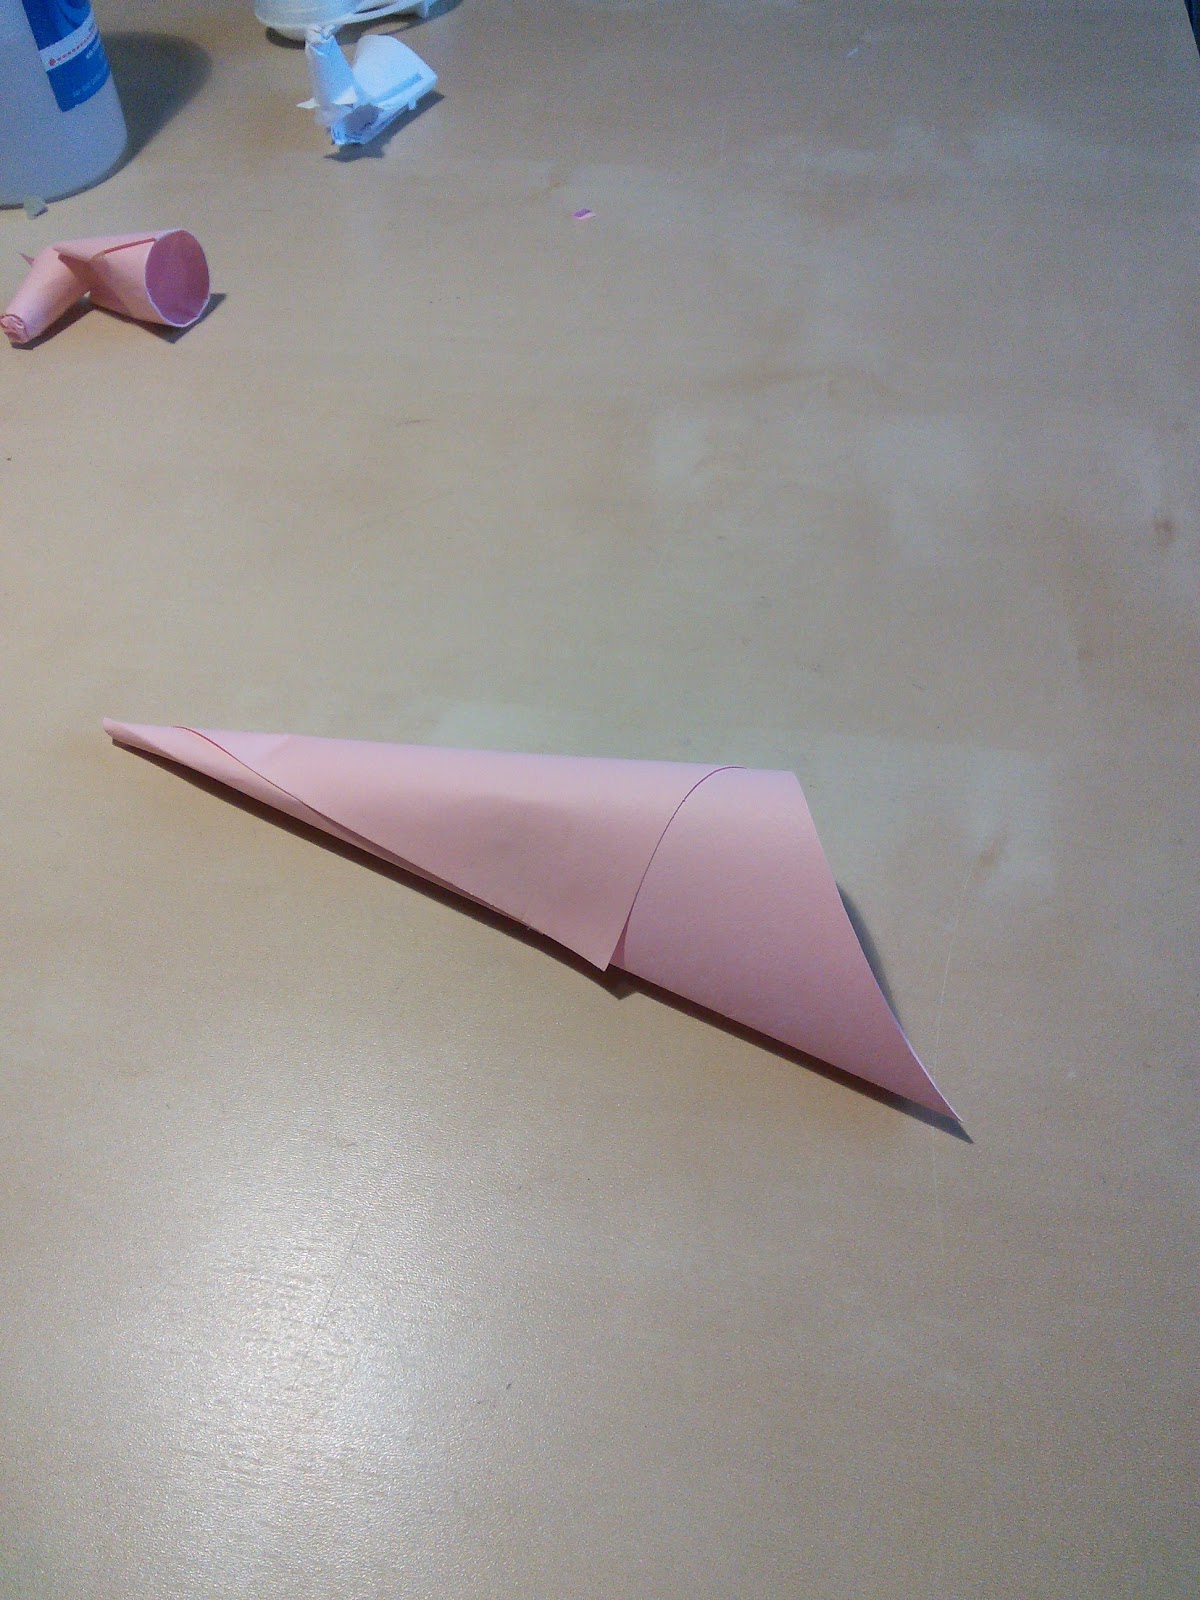
The top of the cone is also cut off, inverted and stuck back into the top hole. I also changed the diameter of that part of the cone, but I'm not sure that's necessary.

For the queen, the extra piece is turned into a tiny little yamuka that gets inserted into the top cone.

The king's topper has a little cross cut into it and then it's rolled into a cone. You have to trim the cone so that it fits on the top right without too much overhang.

Next steps
This is a fun way to make the pieces, but I still need a chessboard. I'm thinking that with the leftover paper I should be able to make the black and white squares to mount onto something else.
I can't wait to make the other half and start using this. With a cheap chess set like this, I'll never be without the game again!
 will stedden